How to Make Simply Beautiful Decoupage Lanterns
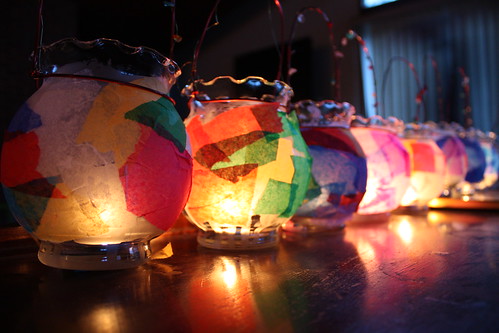
Over the weekend I needed to entertain 9 kids under the age of 9. It needed to be something that wouldn’t make too much of a mess but hopefully something that they could use at home and something that met the approval of my youngest. Over breakfast we discussed and we agreed upon decoupage lanterns.
For this you will need some sturdy wire for the handle (we used 12 gauge red aluminum floral wire), thin brass wire for decorative beading on the handle (not necessary but it looks nice), some stones or glass beads, glass containers that have a lip so the handle doesn’t slip off (we used ivy balls), tissue paper, glue, brushes and tea lights. (I have all the items you need linked at the bottom of this post)
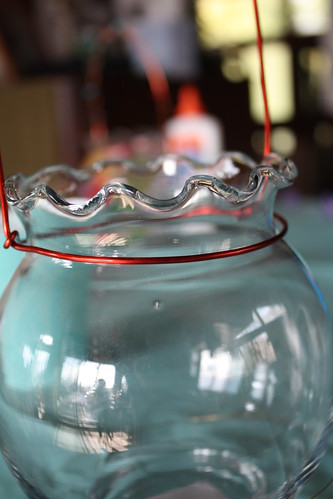
To prepare I cut the aluminum floral wire into 2 foot lengths. For each one I made a small hook at the end, wrapped the wire around the ivy ball and through the hook then bent it up and over to the other side. I then removed the wire from the jar and wrapped the free end around the other side then placed the wire back on the jar and closed the loop. I did this for each vase so that they’d be ready to go. This method worked for me but just do whatever works for you.
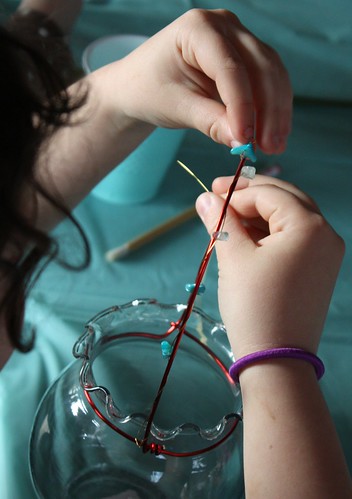
Once the kids were ready we started in on the beading first. I cut 1 1/2 foot lengths of brass wire for each one and started them by wrapping the wire around the handle. They then continued to wrap the handle while adding a crystal or stone when they chose to. Some kids didn’t add and some added a ton. Once they were done I wrapped the other end around the handle and trimmed any sharp edges with a pair of snips.
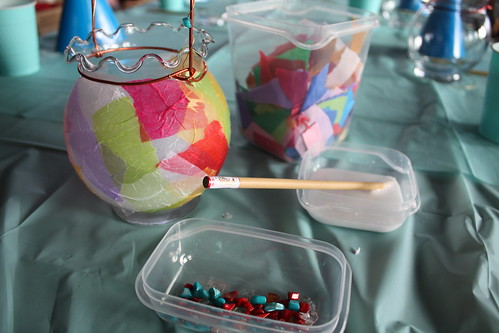
The next part was the messy part. I had torn up a whole bunch of tissue paper into small pieces and they were ready to go on the table along with a glue and water mix (1part glue to 2 parts water).
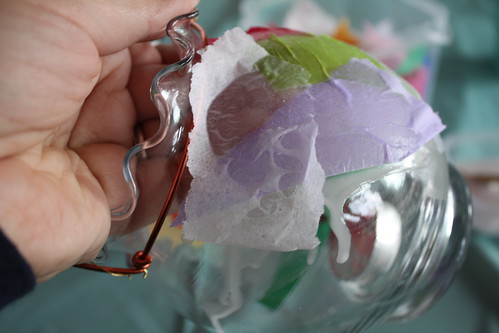
To apply the tissue paper each kid brushed the glass with the glue mixture and then pressed the tissue paper onto it. Once the whole thing was covered I had them brush the whole thing with the glue mixture to make sure everything was secure. We let them dry and then put candles in them (you could put flowers in them for the really little ones).




Fabulous idea!
Blessings, Debbie
Pingback: Autumn Leaf Lantern | Harmonic Mama
Pingback: Kids Craft – Egg Carton Caterpillars | Harmonic Mama
Pingback: Introducing our Made with Love Series | Jersey Family Fun